How to fit, replace, or change a kitchen mixer tap
How to fit, replace, or change a kitchen mixer tap
Having a problem with your kitchen tap? Maybe it’s leaking or possibly the taps themselves are playing up? Maybe you just want to replace them and modernise your kitchen.
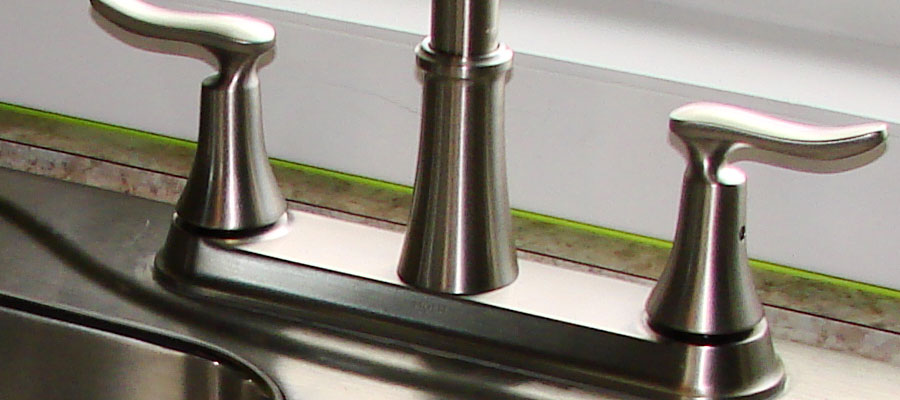
Most modern kitchen taps are ‘mixer taps’ where both the hot and cold water are delivered in combination through a single pipe directly into your sink. Each tap will have a standard half-inch thread on the bottom and comes supplied with a small washer that goes on the underside of the sink and secures with a small nut. Most mixer taps will also come with a foam plate that is placed underneath the tap unit to allow the tap to get a really good seal on top of the sink.
There are different ways to connect your tap pipes up to your 15mm pipe. You can have the flexible type that has a small rubber seal on it. This is very flexible and easy to fit because you don’t have to have the pipes fully lined up.</p
Alternatively you can have a rigid tap connector which is a half-inch but with a little collar on it with either a fibre washer or a rubber washer.
In this example we will discuss a straight change type so you’re not going to need a flexible connector. The 2 pipes under your kitchen sink that deliver the hot and cold water should line up the pipes directly with the new tap.
Removing your old mixer tap
Before you start it’s a good idea to remove everything from under the sink so that you can see the pipe connectors at the bottom of the new taps as the poke through from the sink and access them easily.
1. Isolate the water supply and make sure all the water is turned off
This should be pretty straight forward. Just locate the shut-off valve and turn the water supply off. Check this by turning on the taps to make sure the water is actually off.
2. Removing the old tap
The pipework leading to your kitchen taps is probably in an awkward location, butted right up against the wall under your sink. You’ll likely need to use a tool to help disconnect the taps from the mains pipes and the tool needed could vary depending on how easily you can access the nuts and connectors under your sink. Our professional plumbers carry tube spanners and claws that allow them to disconnect your taps swiftly and smoothly.
2. Disconnecting the tap from the mains
You’ll need to disconnect the tap from the mains pipe and this is best achieved by slackening off the nut attaching the two and then you can use your hand to unscrew the rest of the way and take it off.
First unscrew the nut to the pipe, then undo the nut that is securing the to the sink.
Once you’ve released both nuts from the bottom side of the taps you should be able to pull it up and lift off your mixer tap ready to fit the new one.
3. Removing any debris
Now is a good time to clean off any old bits and bobs that were stuck under the old tap.
Fitting your new mixer tap
Fitting a new mixer tap is usually a lot easier than removing the old one. It’s just a case of reversing the steps and installing the new tap correctly and making sure all the seals are tight so you don’t have any leaks.
Flexible taps fittings work by one end pushing on the 15mm pipe which will make a seal straight away. The other end attaches to the end of your new tap. You can generally tighten them hand tight because they have a rubber seal inside which creates a very good seal.
1. Fitting your tap on the top side of the sink
After you’ve given the sink area and good scrub down and removed and debris from the old tap it’s time to secure the new tap in place. This is easy enough as you just slot the tap pipes through the holes in the sink and the rest of the installation is carried out from under the sink.
2. Connecting your tap under the sink
Get under the sink again with your rubber washer and plastic nut and secure the underside of the tap to the sink. It’s best to tighten with a tool as you need the tap to be secured as much as possible - you don’t want the tap wobbling all over the place once you start to use it. Do this to both sides of the taps.
3. Connecting your tap to your water pipes
Now its time to connect the water pipe again. We recommend replacing the rubber washers and o-rings wherever possible. It’s also a good idea to put a bit of PTFE tape on the pipe to make an absolute water tight seal. Again, do this to both sides.
4. Turning your water back on
Once you’ve gone through the agonising hell of tightening both of those up you can then turn the water back on, test for leaks and with any luck you should be done. The first time your turn on your new tap you should get a bit of air at first, but then water should run through smoothly. Take a look under the sink and check for leaks and once you’re happy to put all your bits and pieces back nice and tidy!
So now that the old tap has been removed and you’ve successfully installed your new mixer tap its time to grab the kettle and make yourself a nice cuppa.
Disclaimer: The information on this web page is presented for general guidance purposes only and is supplied without liability. Such information is provided in good faith. Whilst every care has been taken in its preparation, no responsibility is accepted for any errors or omissions which it may contain. The information on this may be updated or changed at any time without warning.
How to fit, replace, or change a kitchen mixer tap
Need help? Hire the Cambridge Property Service experts today by giving us a call on 01223 782433.


